Beeswax for Contact Mics

Contact mics perhaps take the greatest amount of patience of any audio transducer to work with. From identifying what to attach them to, to simply finding a method of attachment, they can frustrate a new user easily.

I own a pair of JRF C-Series mics, and have tried attachment methods from blutack, to a clamp, to electrical tape. The Tonebenders podcast featured a great analysis by Michał Fojcik of several techniques of contact mic attachment, one of the best (to my ears) being beeswax.

From Michał's blog post, it appears he used raw beeswax, and a beeswax putty available to children as a Play Doh alternative. I figured that raw beeswax would be pretty unworkable if you were trying to work outside, as it would take a lot of body heat to make it malleable enough. Some additional research brought up this video:

Further research brought up a mention of Ann Kroeber, also previously featured in Tonebenders, and her use of a FRAP contact mic. An old colleague of her's mentioned mixing the natural moisturiser, lanolin, often used in crafts and health products to keep the beeswax sticky. So, with my beeswax order having arrived, I set about making my own contact mic beeswax putty. 

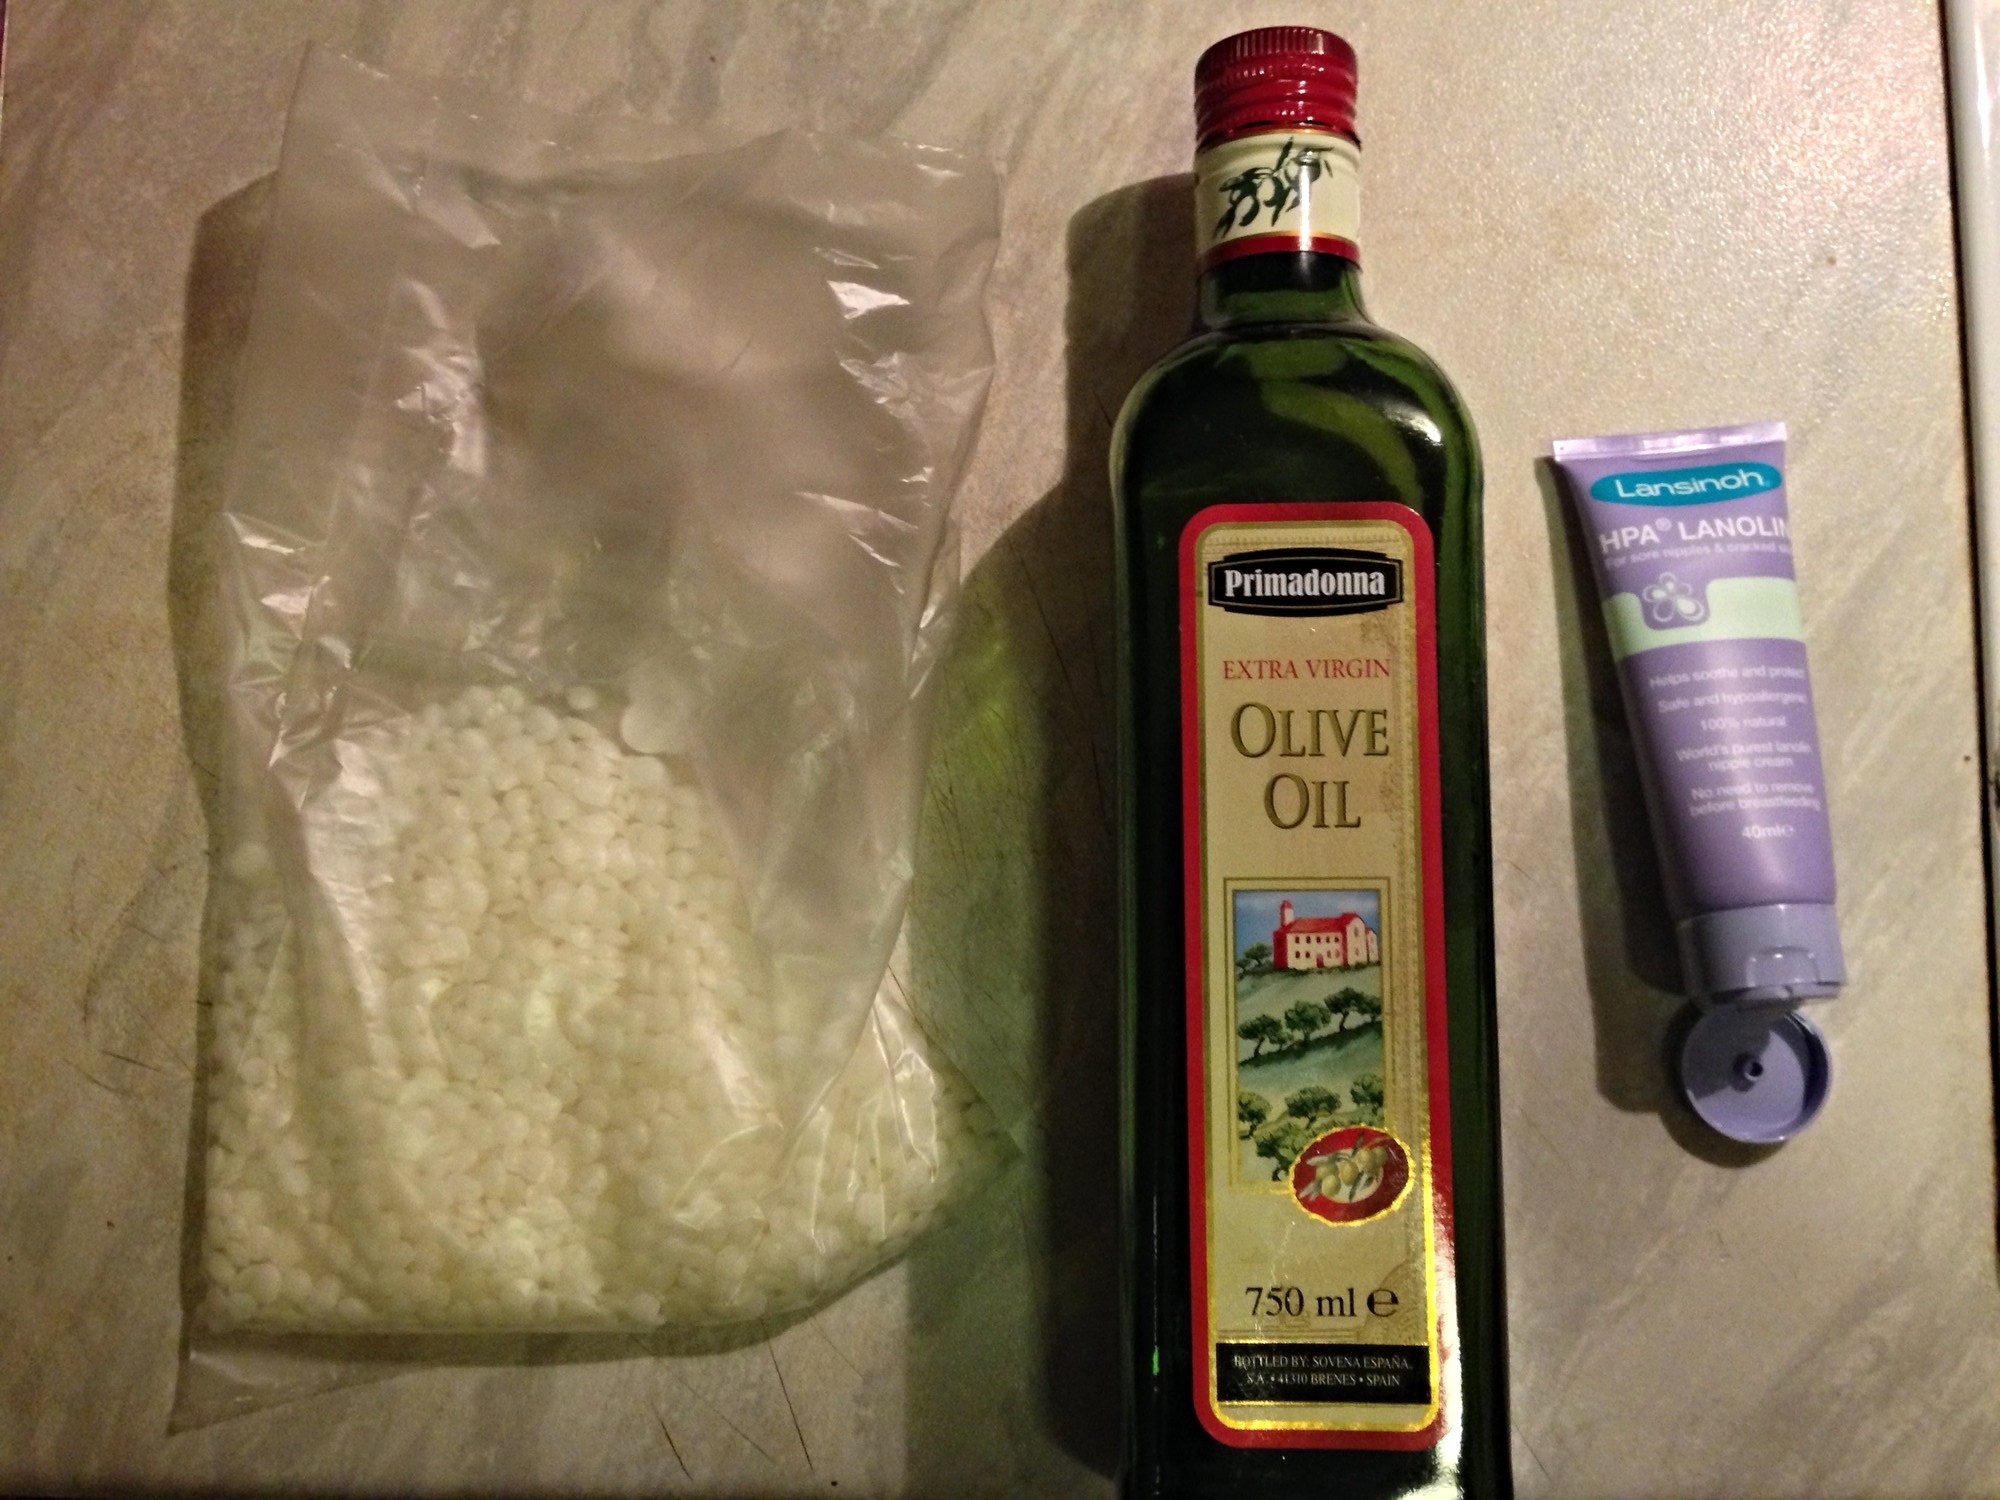
Ingredients:

  • 1 cup of beeswax pellets
  • 2 tsps olive oil
  • 1 1/2 tsp lanolin

Method:

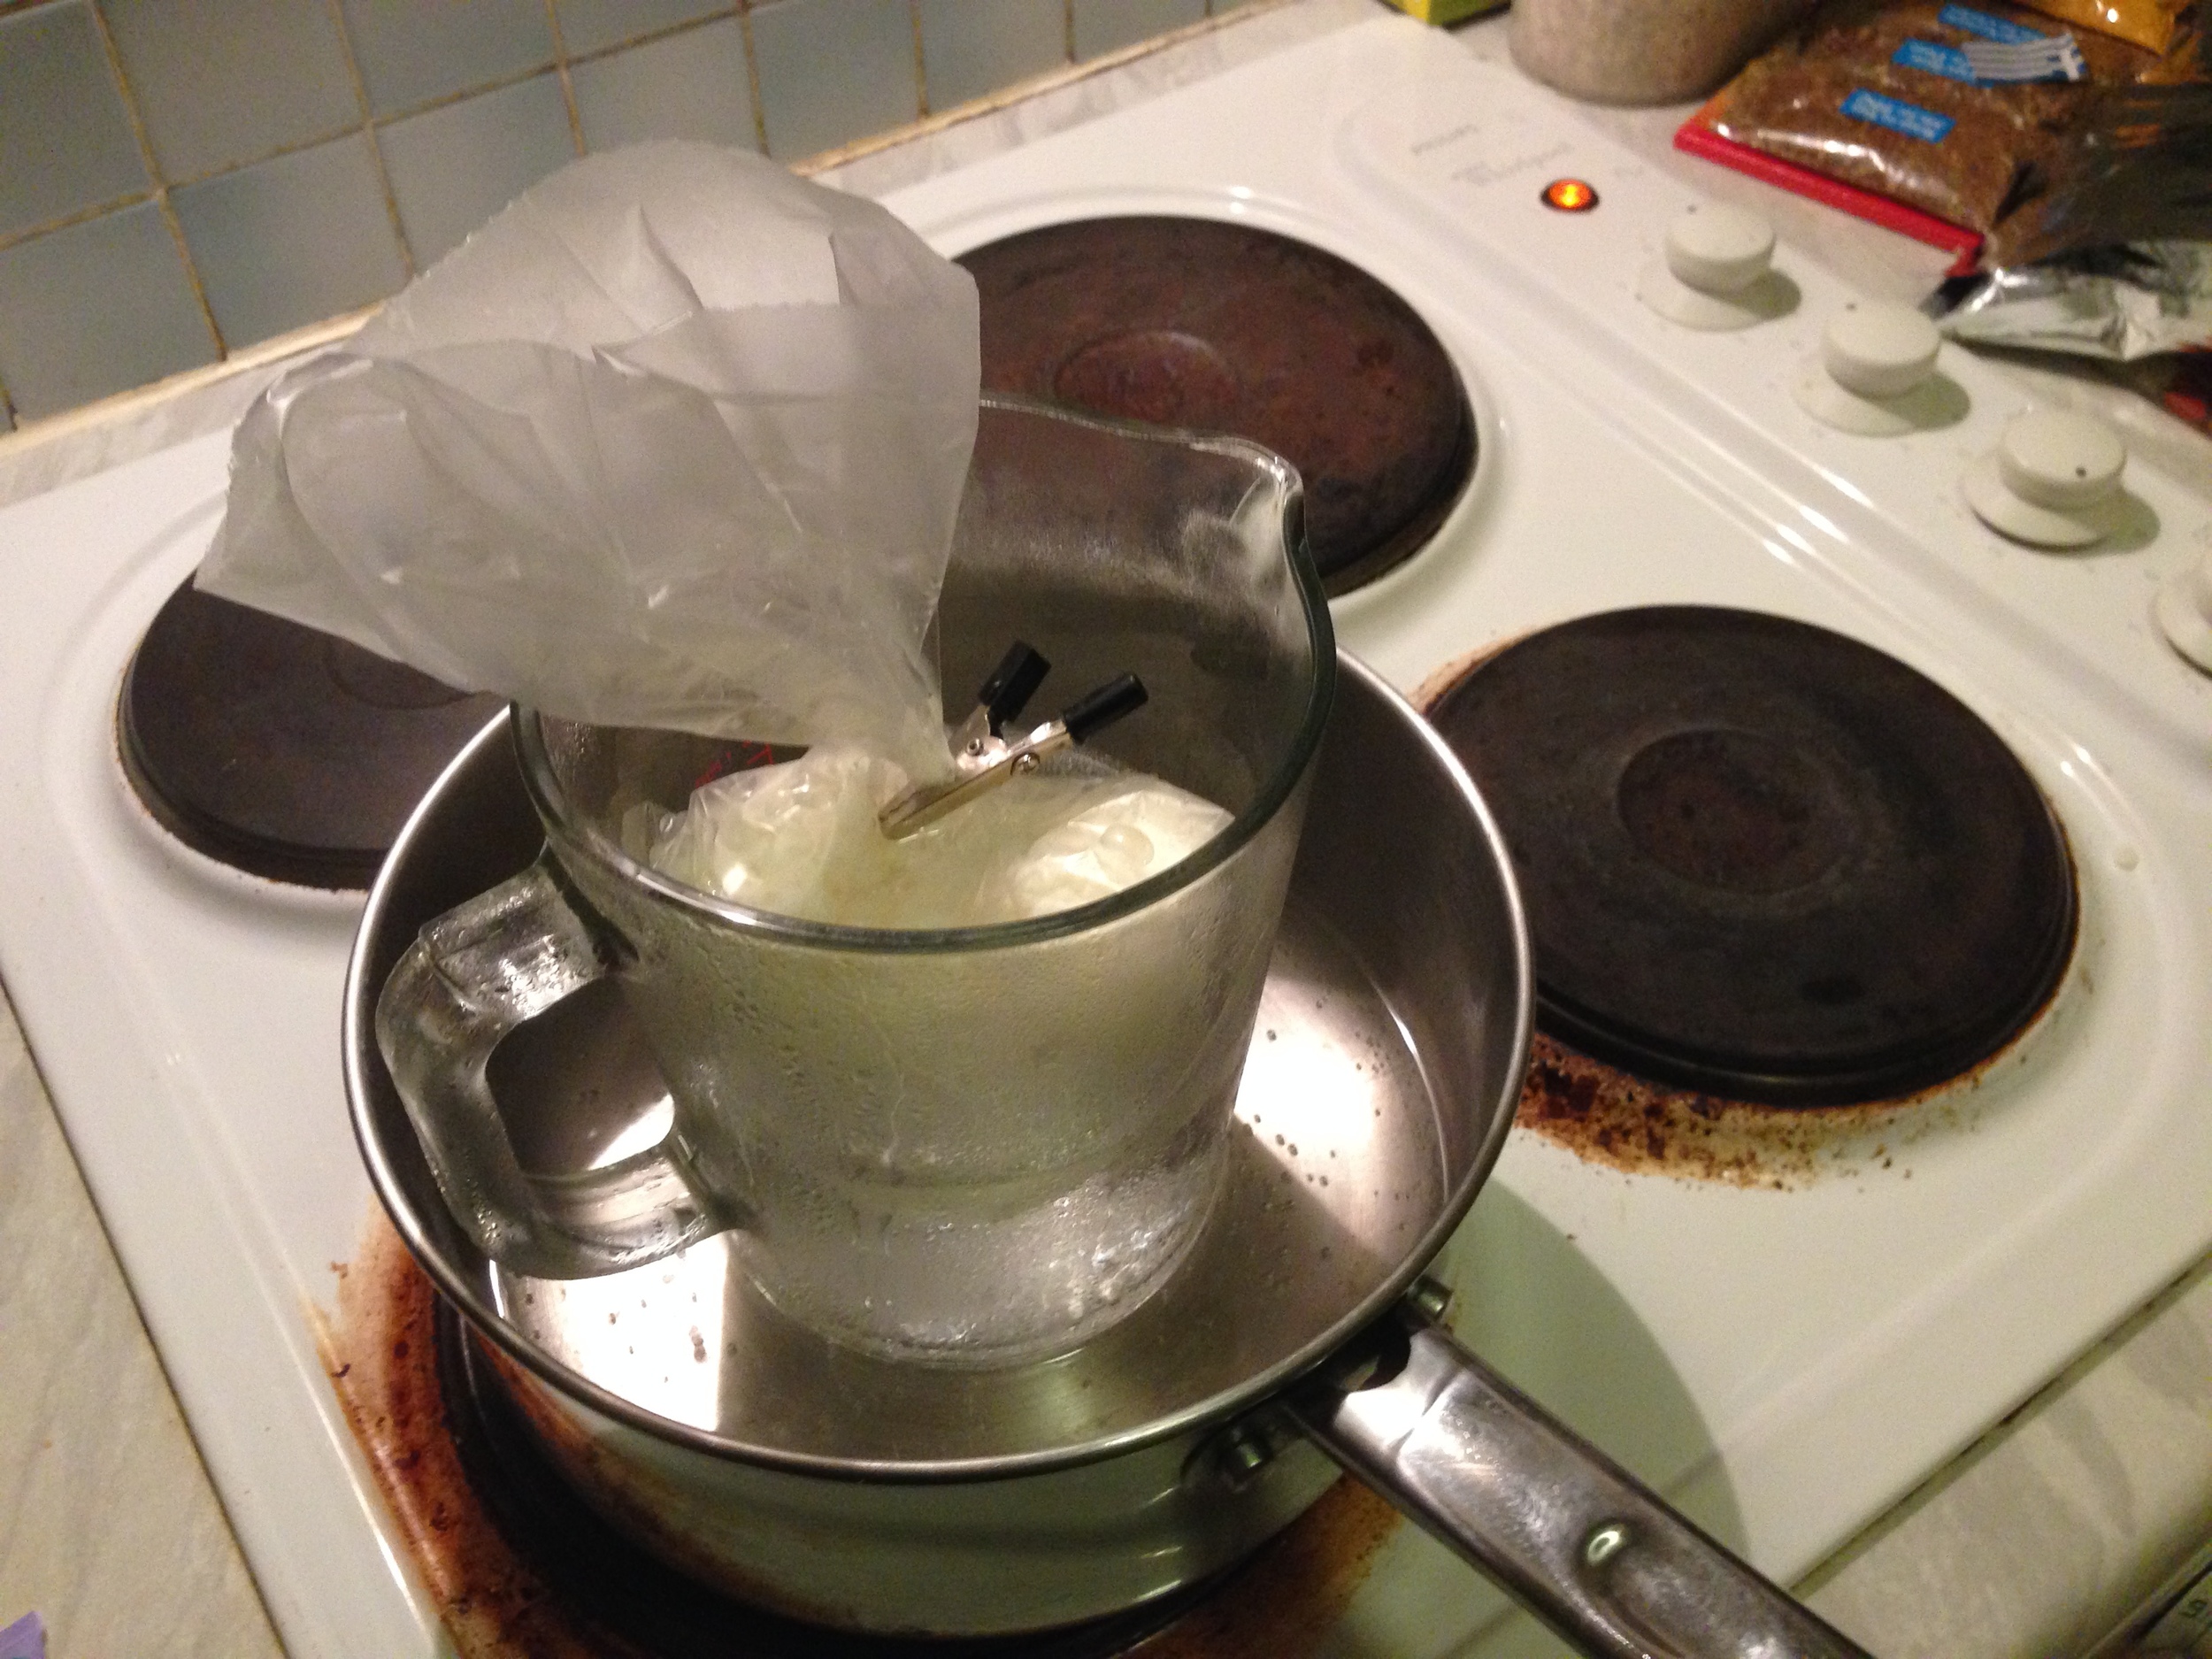
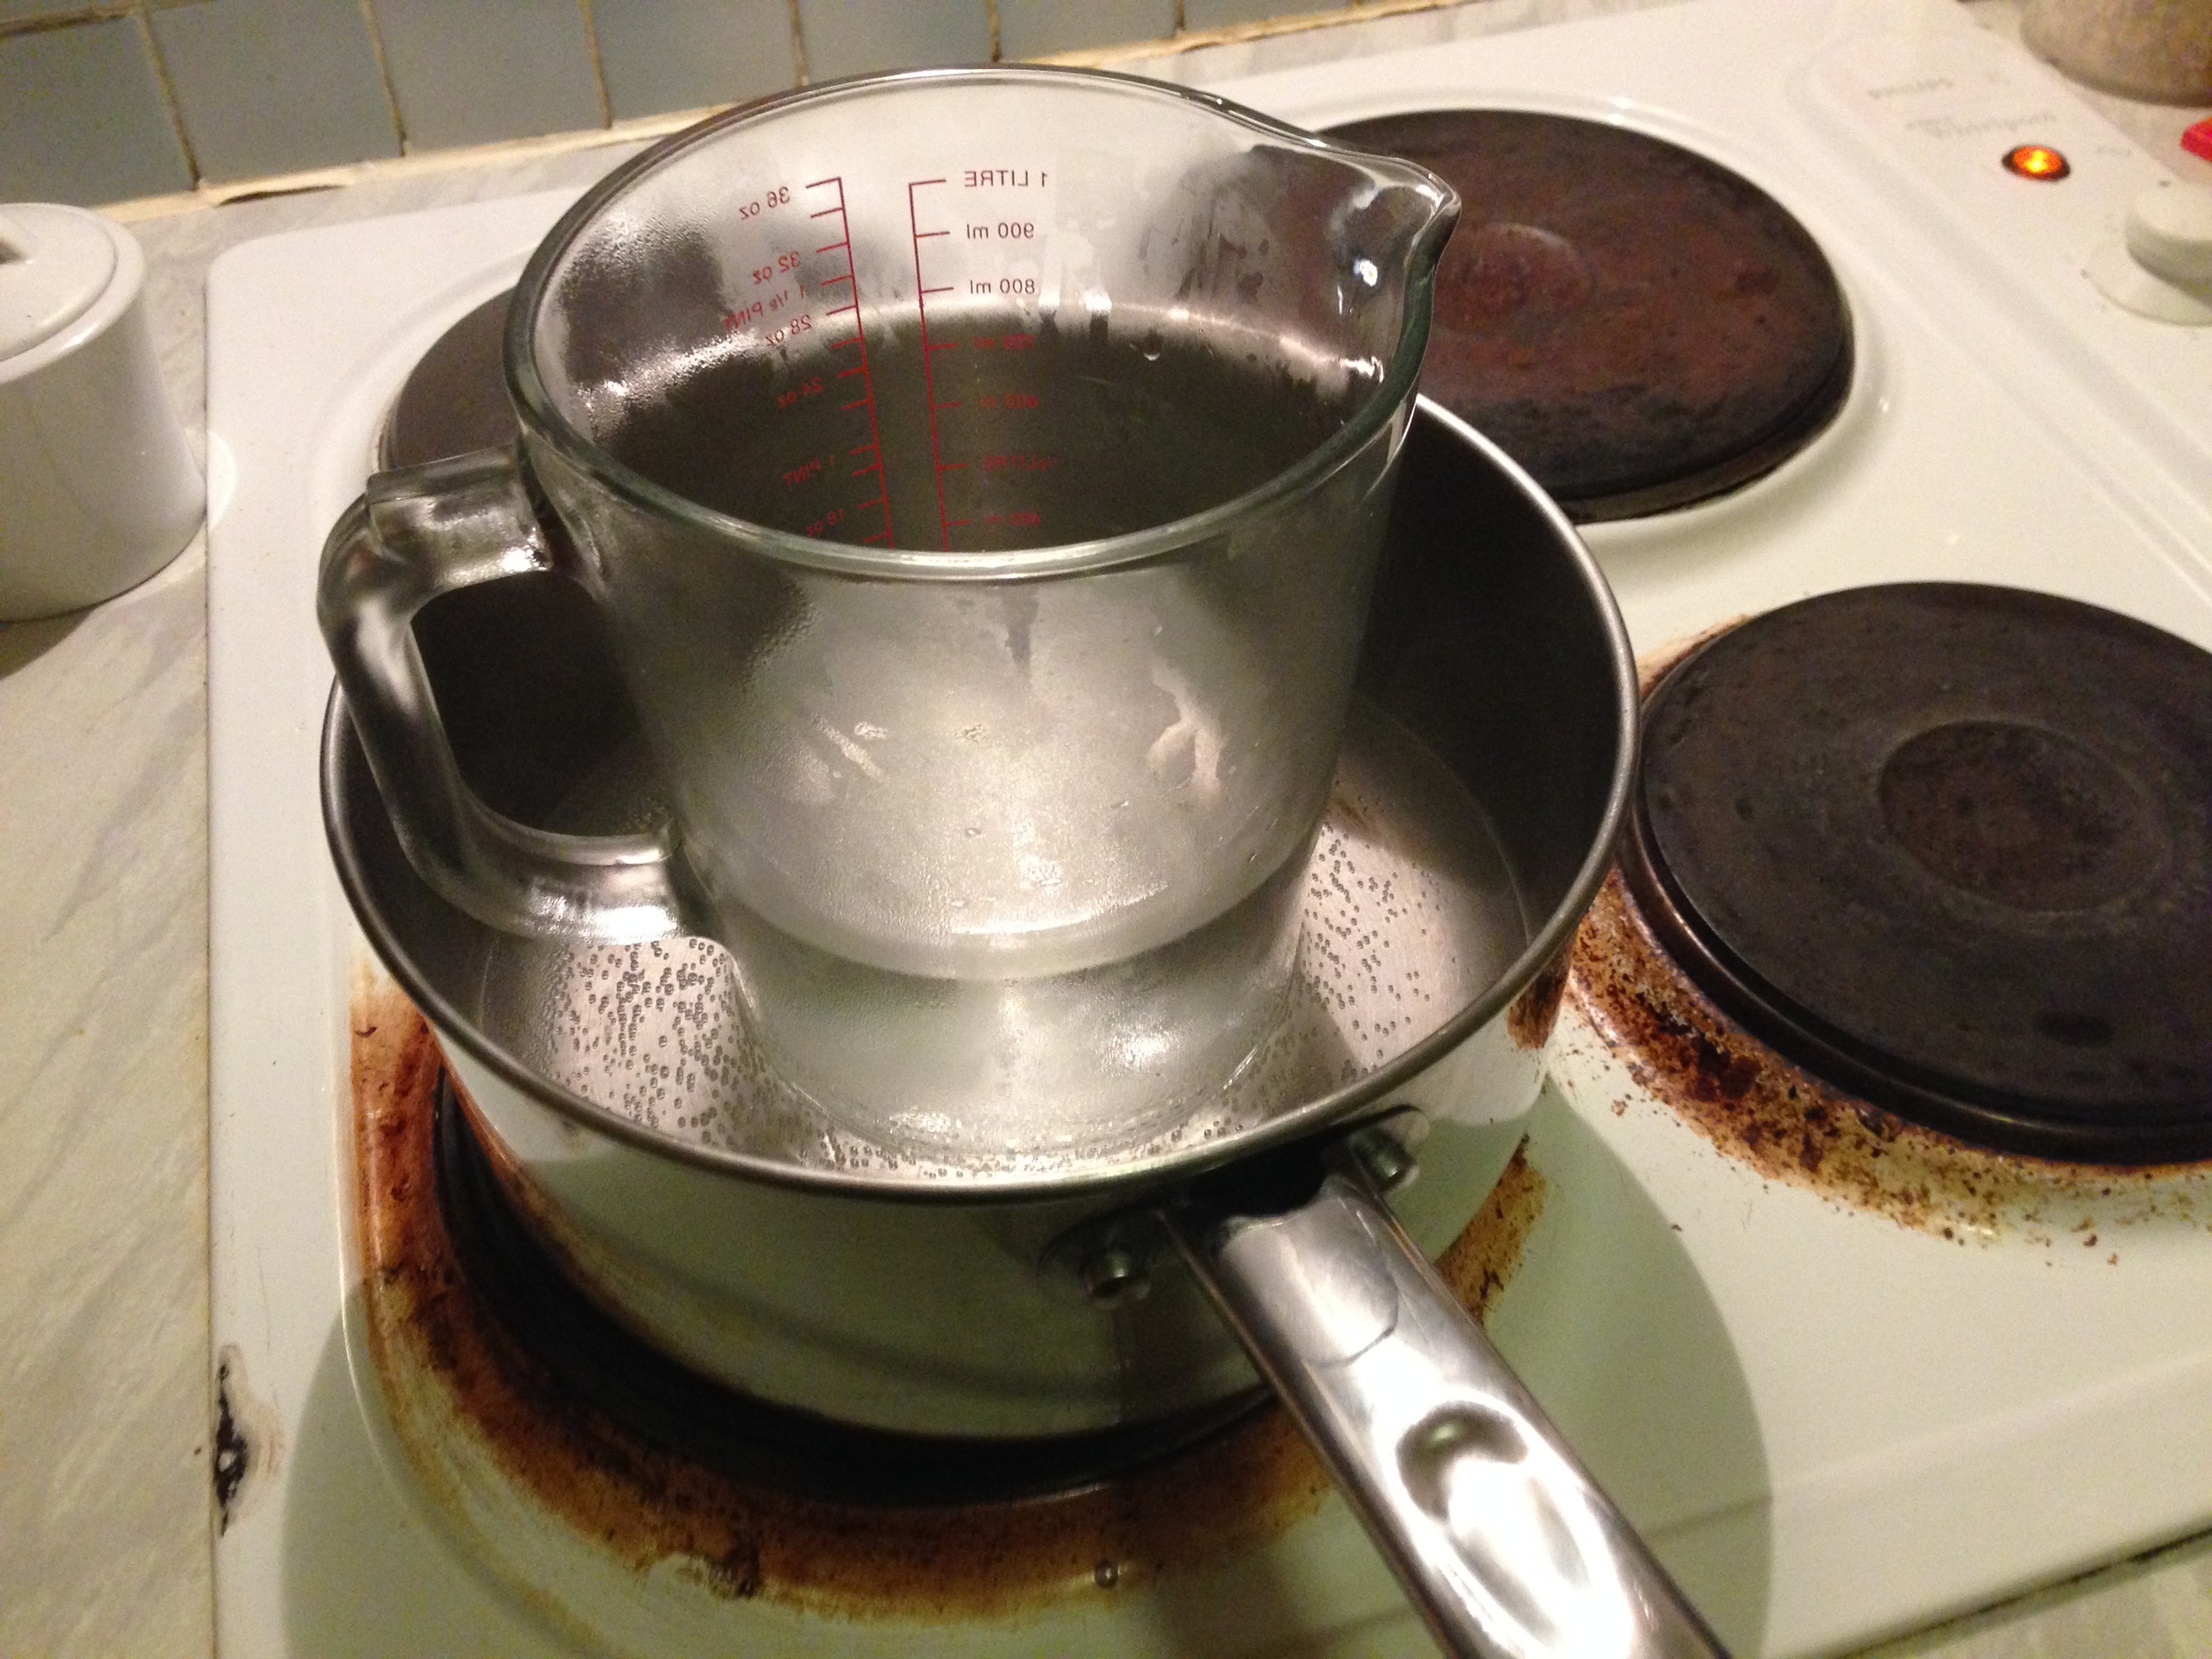
I followed the method from the video above, except for adding some lanolin while adding the oil. 

Also, I gently heated the oil and lanolin together into a mixture before adding, so the mixture wouldn't cool the melted wax around it.

I found the wax took a lot longer to melt than I thought, though I was using a large pyrex measuring jug in the pan, instead of a small cup like in the video tutorial.

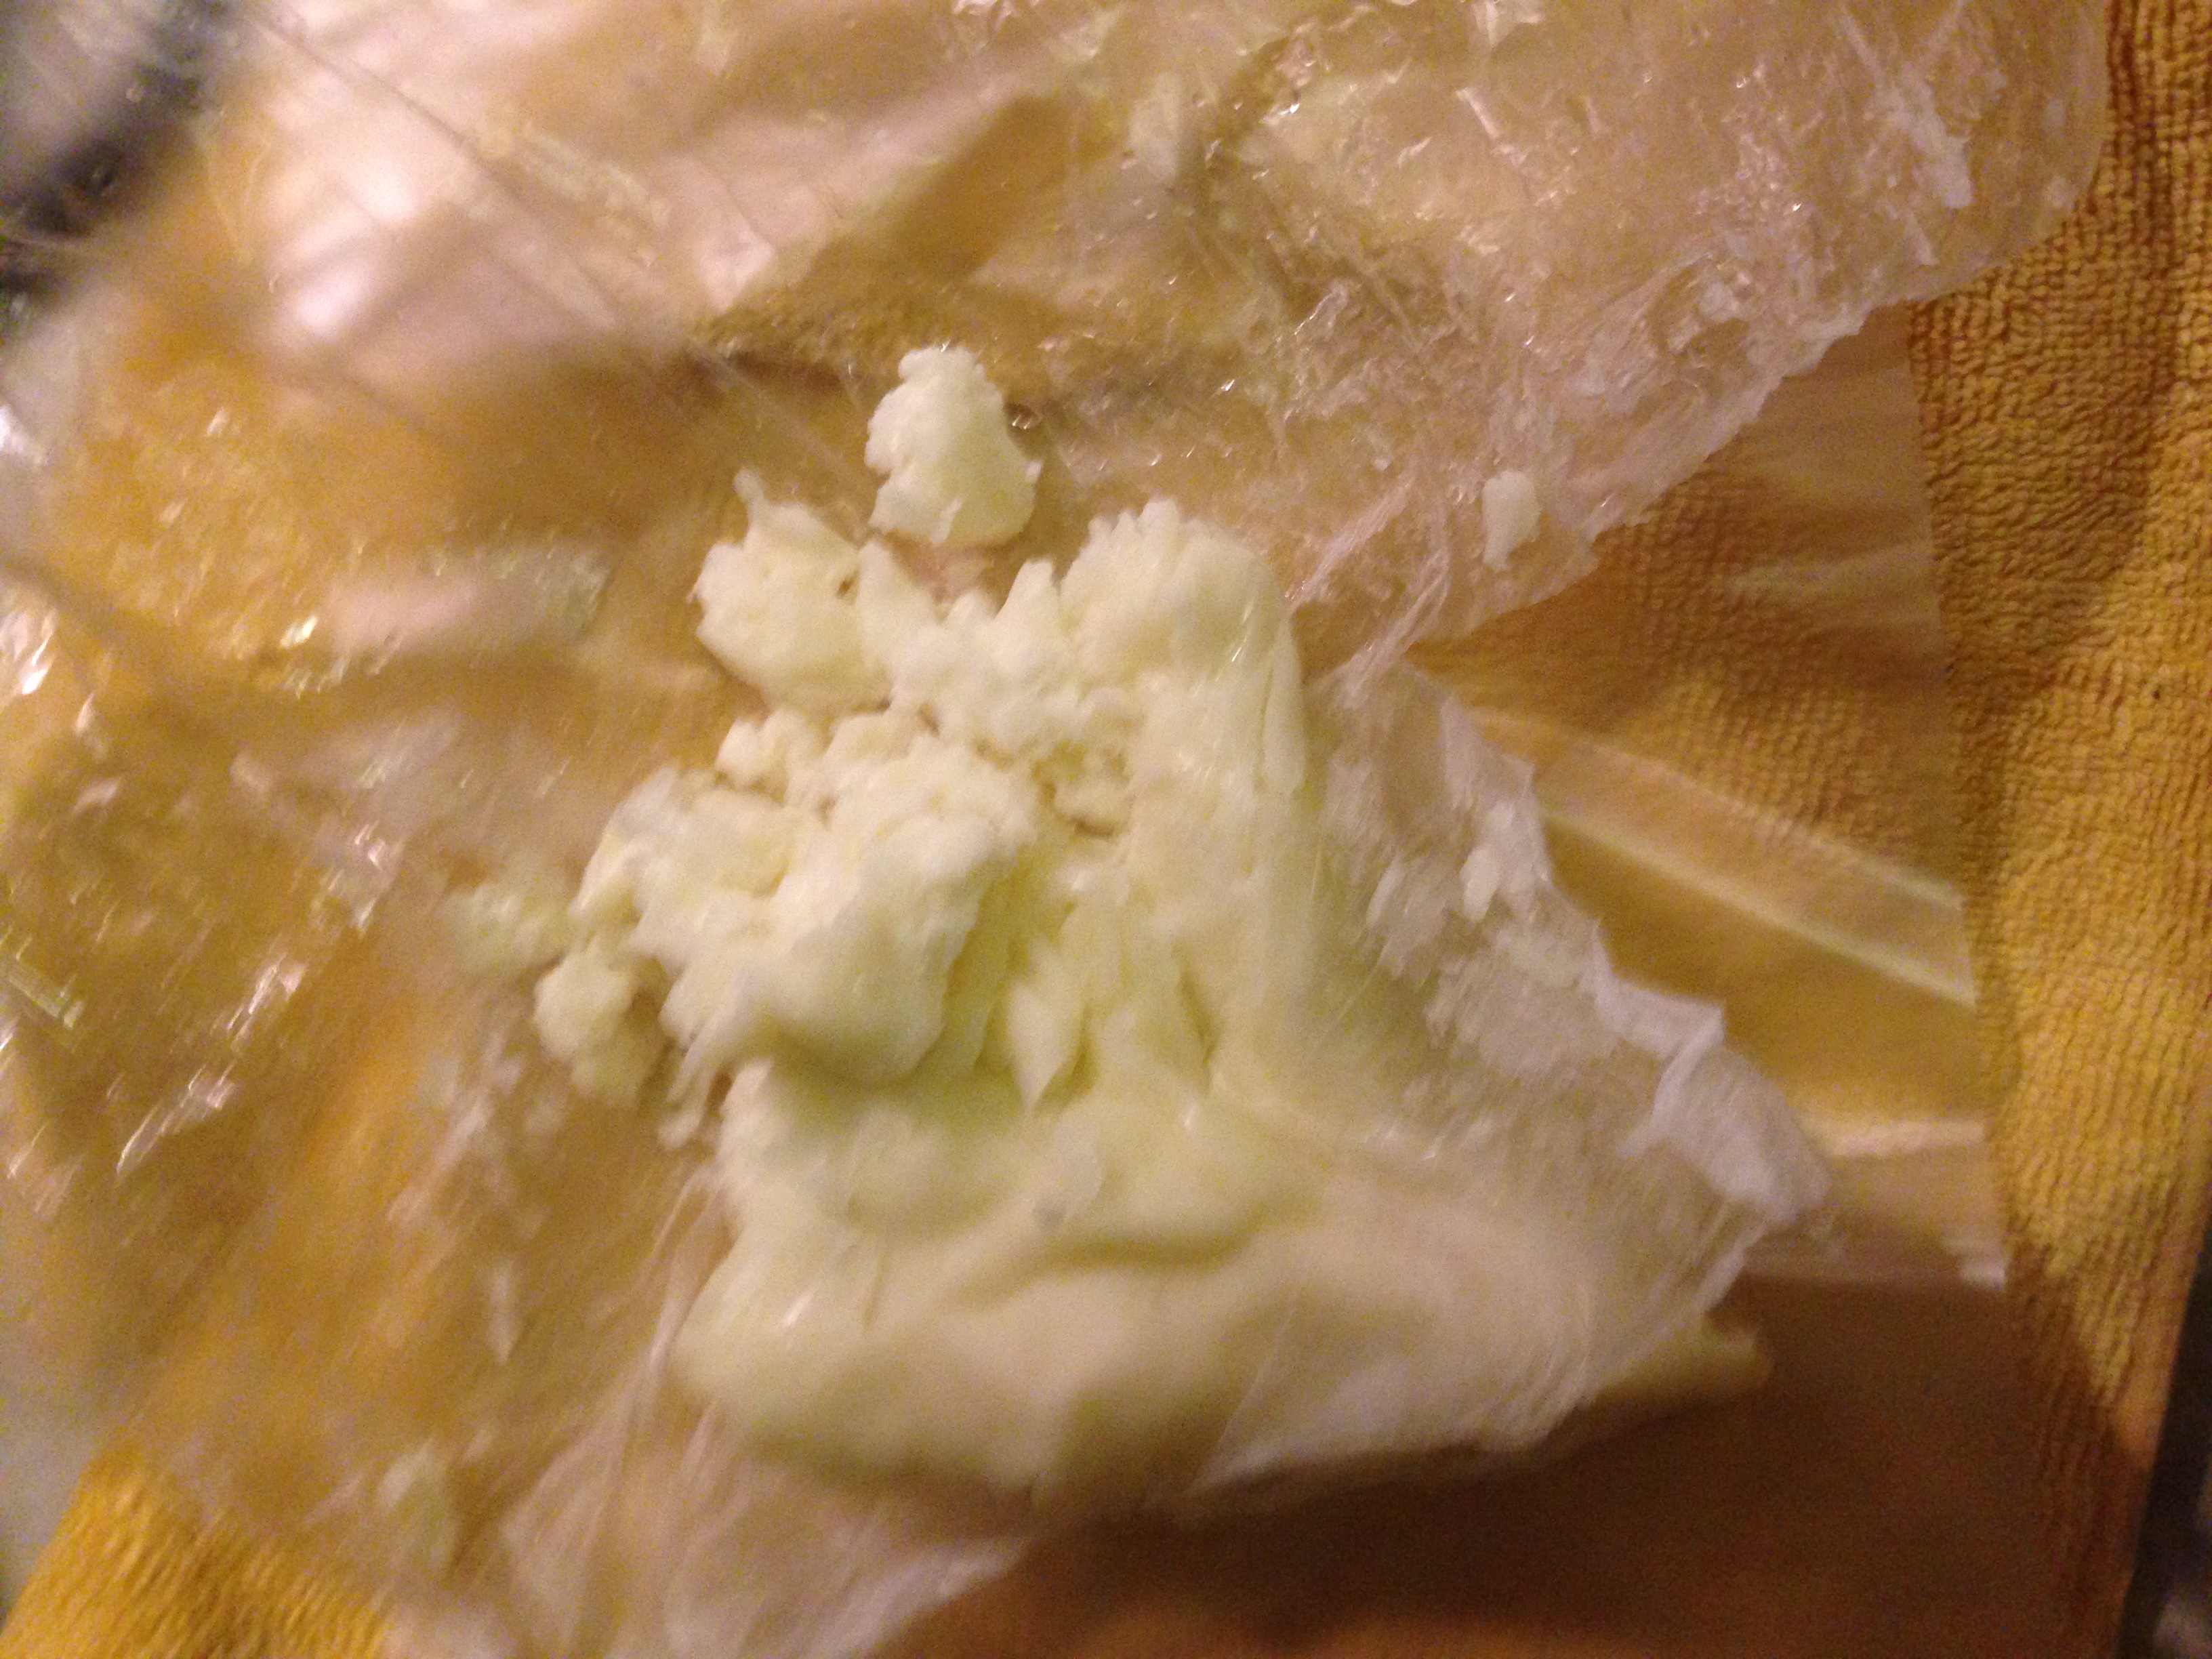
The end result worked really well. It was sticky but malleable, and quickly warmed up in my hands for use. I would add an extra tsp of oil, as it did firm up to fairly hard wax again. The only other downside is that the wax will stick on the surfaces you attach it to, so beware. It will also leave wax on your mic surfaces.

I only had time for a quick test. I stuck the mics to the bottom of a porcelain type sink. This smooth glass like surface is usually troublesome for tape, but the wax had no problem attaching and staying there. Sonically, it does sound as though it captured a more even spread of frequencies than other methods I've used. The following excerpt has the raw recording, and an additional processed version to hear how well it could handle varispeeding.

Birdsong in Stephen's Green

'By trying to sing over the sound of the city, birds are risking vocal injury because they're using more pressure to sing loudly, while also singing at higher frequencies to try to counteract the low rumble of traffic noise,'

Urban Life Is Stressing Out Our Songbirds

Birdsong has been so instrumental in music - from Benjamin Britten to John Luther Adams - how long before the effects of noise on bird behaviour are felt culturally?

The Echoes of Benjamin Britten's 'Composing Walks'

Monitor Calibration

Disclaimer: I'm not an acoustics expert by any account; this is just to share some accurate sources of information I have found helpful, and revise the information for myself.

As the home studio has become increasingly central in carrying out professional work, calibrated monitors are necessary to ensure that work will translate accurately on different, larger systems. A mix that sounded nice and balanced on the home set up, is suddenly boomy and muddy on a larger system.

It all comes back to the Fletcher-Munson curve. At lower listening levels, we can't perceive bass and high frequencies very well. At around 80dB SPL, the curve flattens out and our perception of the frequency spectrum becomes more balanced. Meaning you won't be trying to compensate using EQ boosts, and unintentionally muddying your mix.

Sound on Sound have a great, free article on steps for calibrating. Note the table at the end that advises SPL calibration levels depending on room size. The 83dB SPL figure is often bandied around forums, even though it only applies to larger rooms with mid to far field monitors; it originates from Dolby calibration of dubbing stages. In a small room with near fields, 83dB SPL is deafening. 

The SPLnFFT app came in handy as an iPhone SPL meter, and has according to research papers, come out as one of the more accurate SPL meter apps.

I recently re-calibrated my speakers in a new room to the 74dB SPL level which is appropriate to the cubic volume of the room. I also hung acoustic foam on the walls to help dampen the flutter echoes in the room, and have some bass traps in the the corners. It's still far from a perfect room, but treatment works exponentially - a little will go a long way. Acoustic treatment is vital if you're to benefit from monitor calibration, otherwise you'll still end up EQing incorrectly as you eliminate frequencies that are interacting with the room. 

Collaborations 2015

Writer Martin Sharry and myself will be performing at the Collaborations 2015. Martin contributed the spoken sections to my piece 'Aran of the Saints'.


Titled 'The Impossible Address', the performance is a work in progress reading by Martin on themes of island life, and it's acoustic; I will be creating a 'live' soundscape using recordings I made on the island last year, and generative software instruments.